When we bought our house, we knew that the flooring was going to be the biggest overhaul. Like many homes built in the nineties, the floor-plan was broken up by multiple types of flooring: carpet, tile, hardwood, laminate…
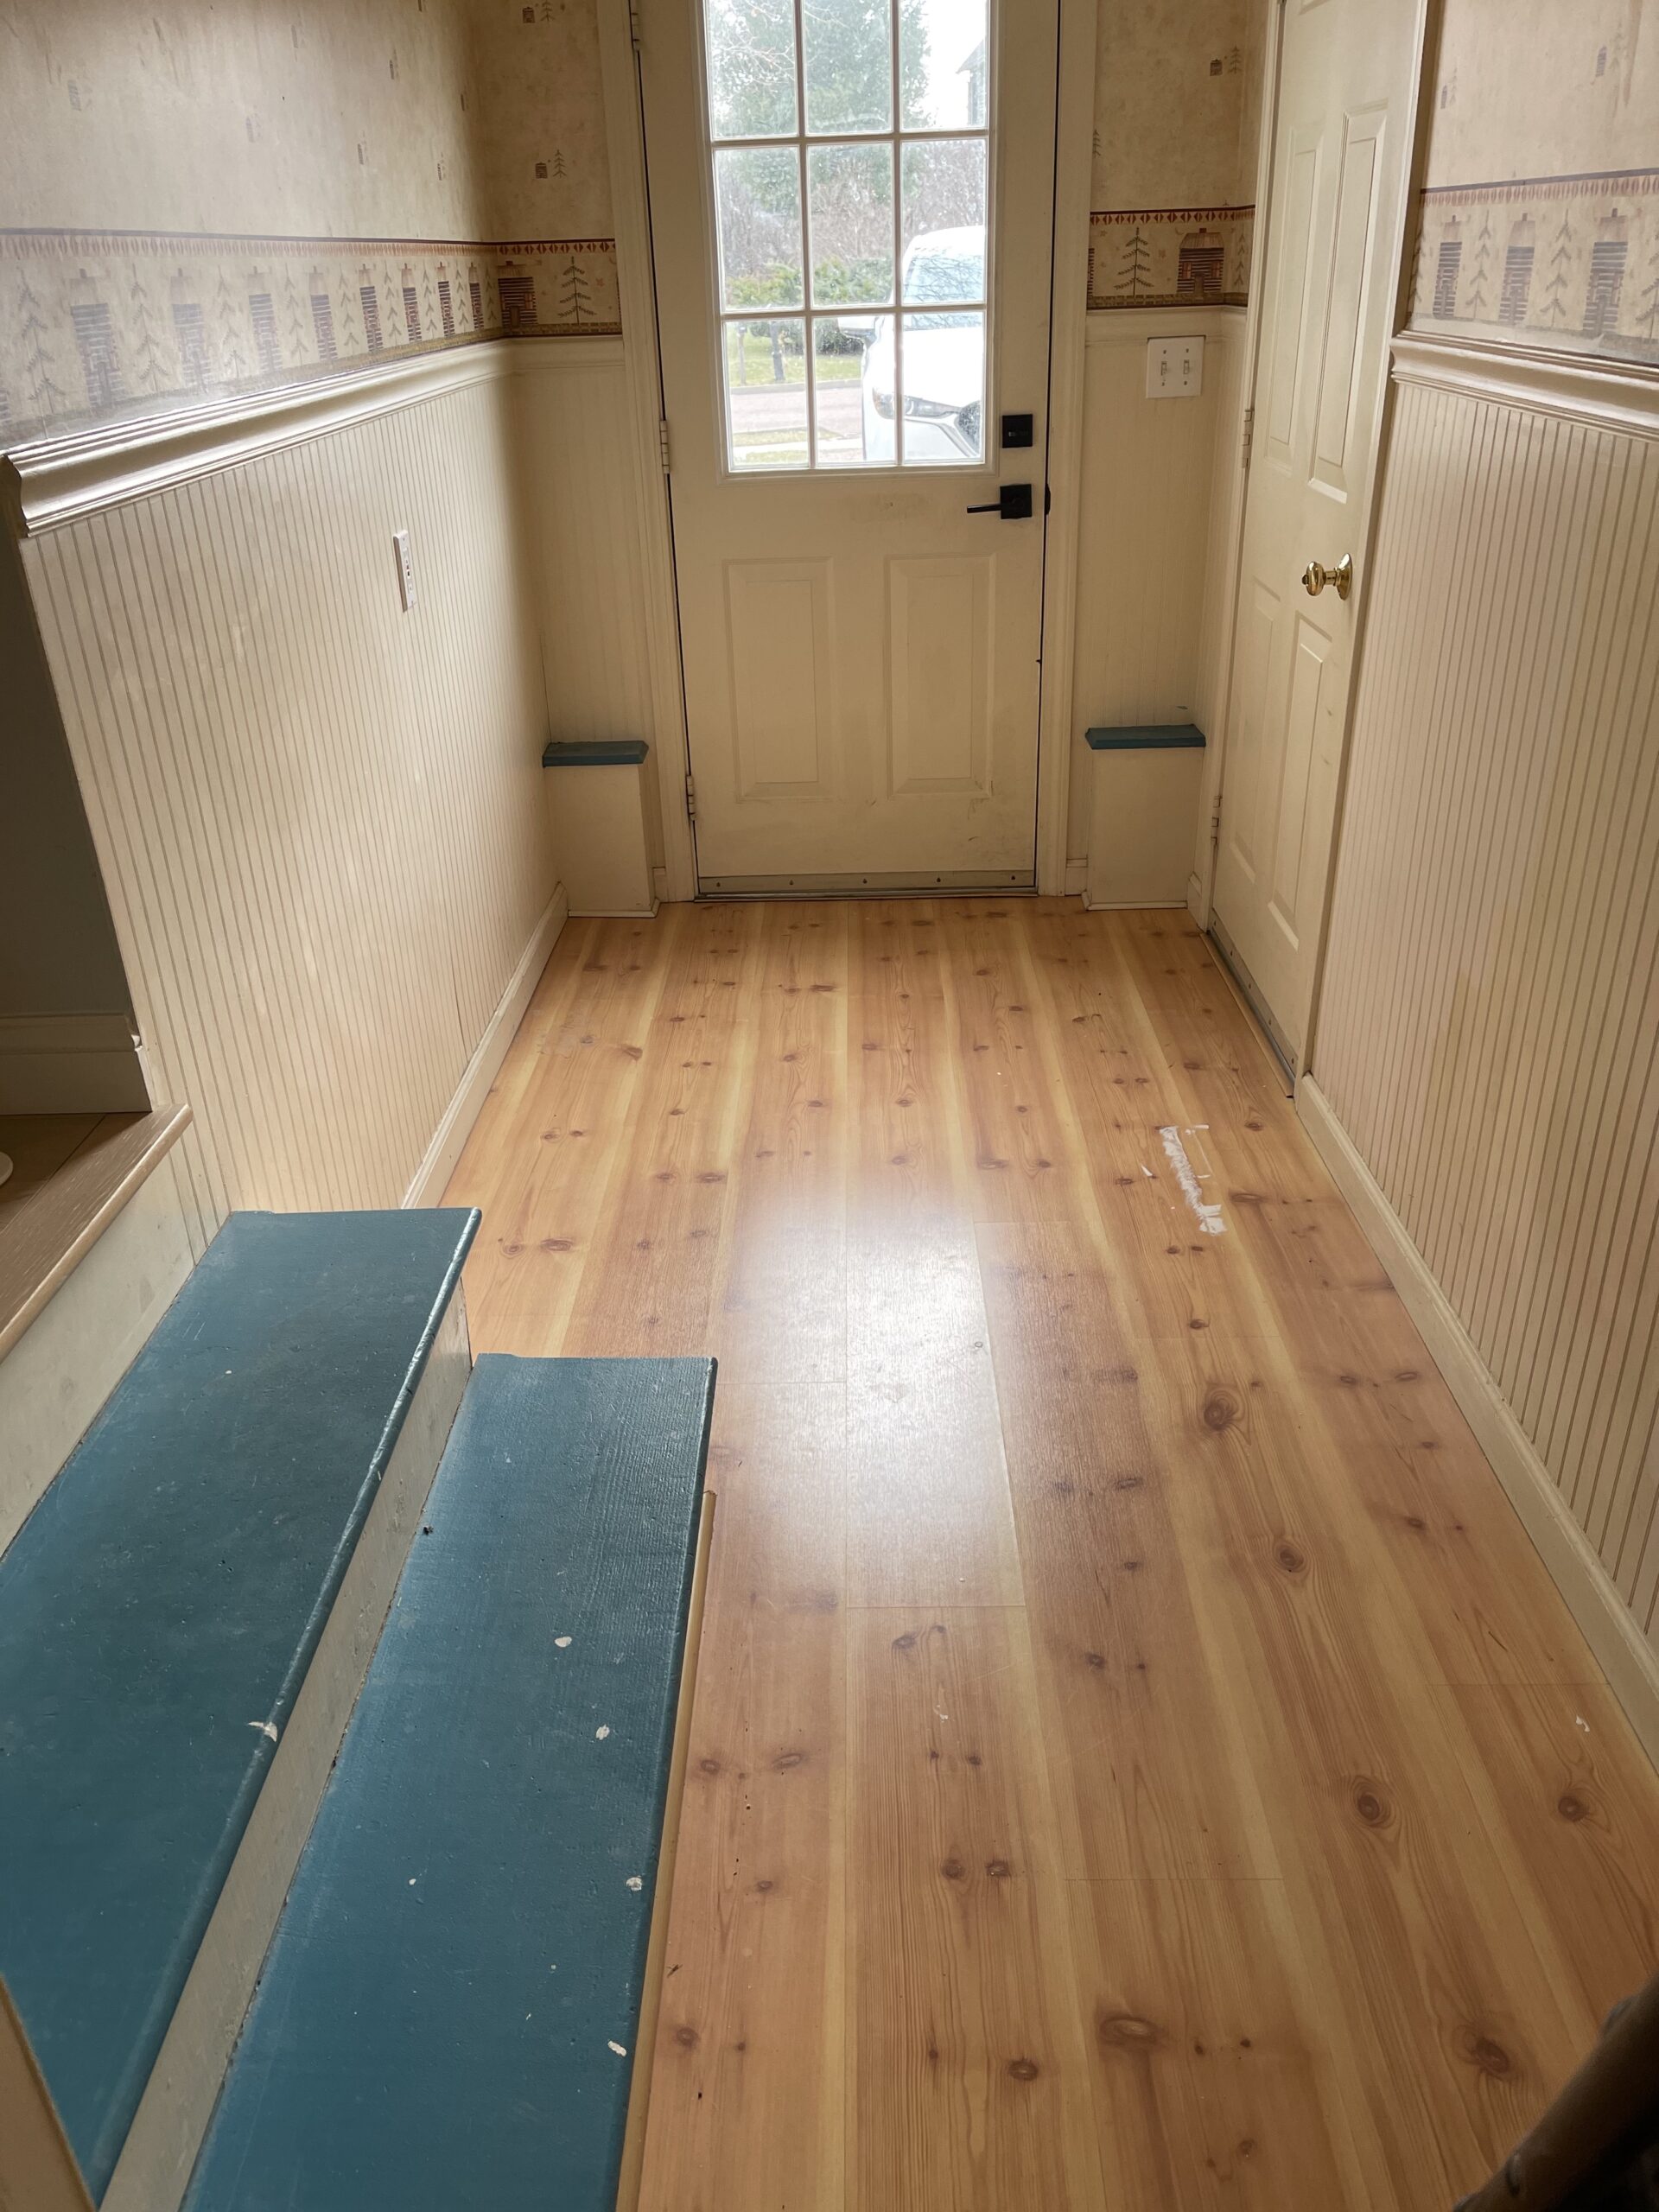
The mudroom was no exception to this approach, and featured a thin, snap-in laminate that was not ideal for a space that would be experience lots of traffic and wet or snowy gear.
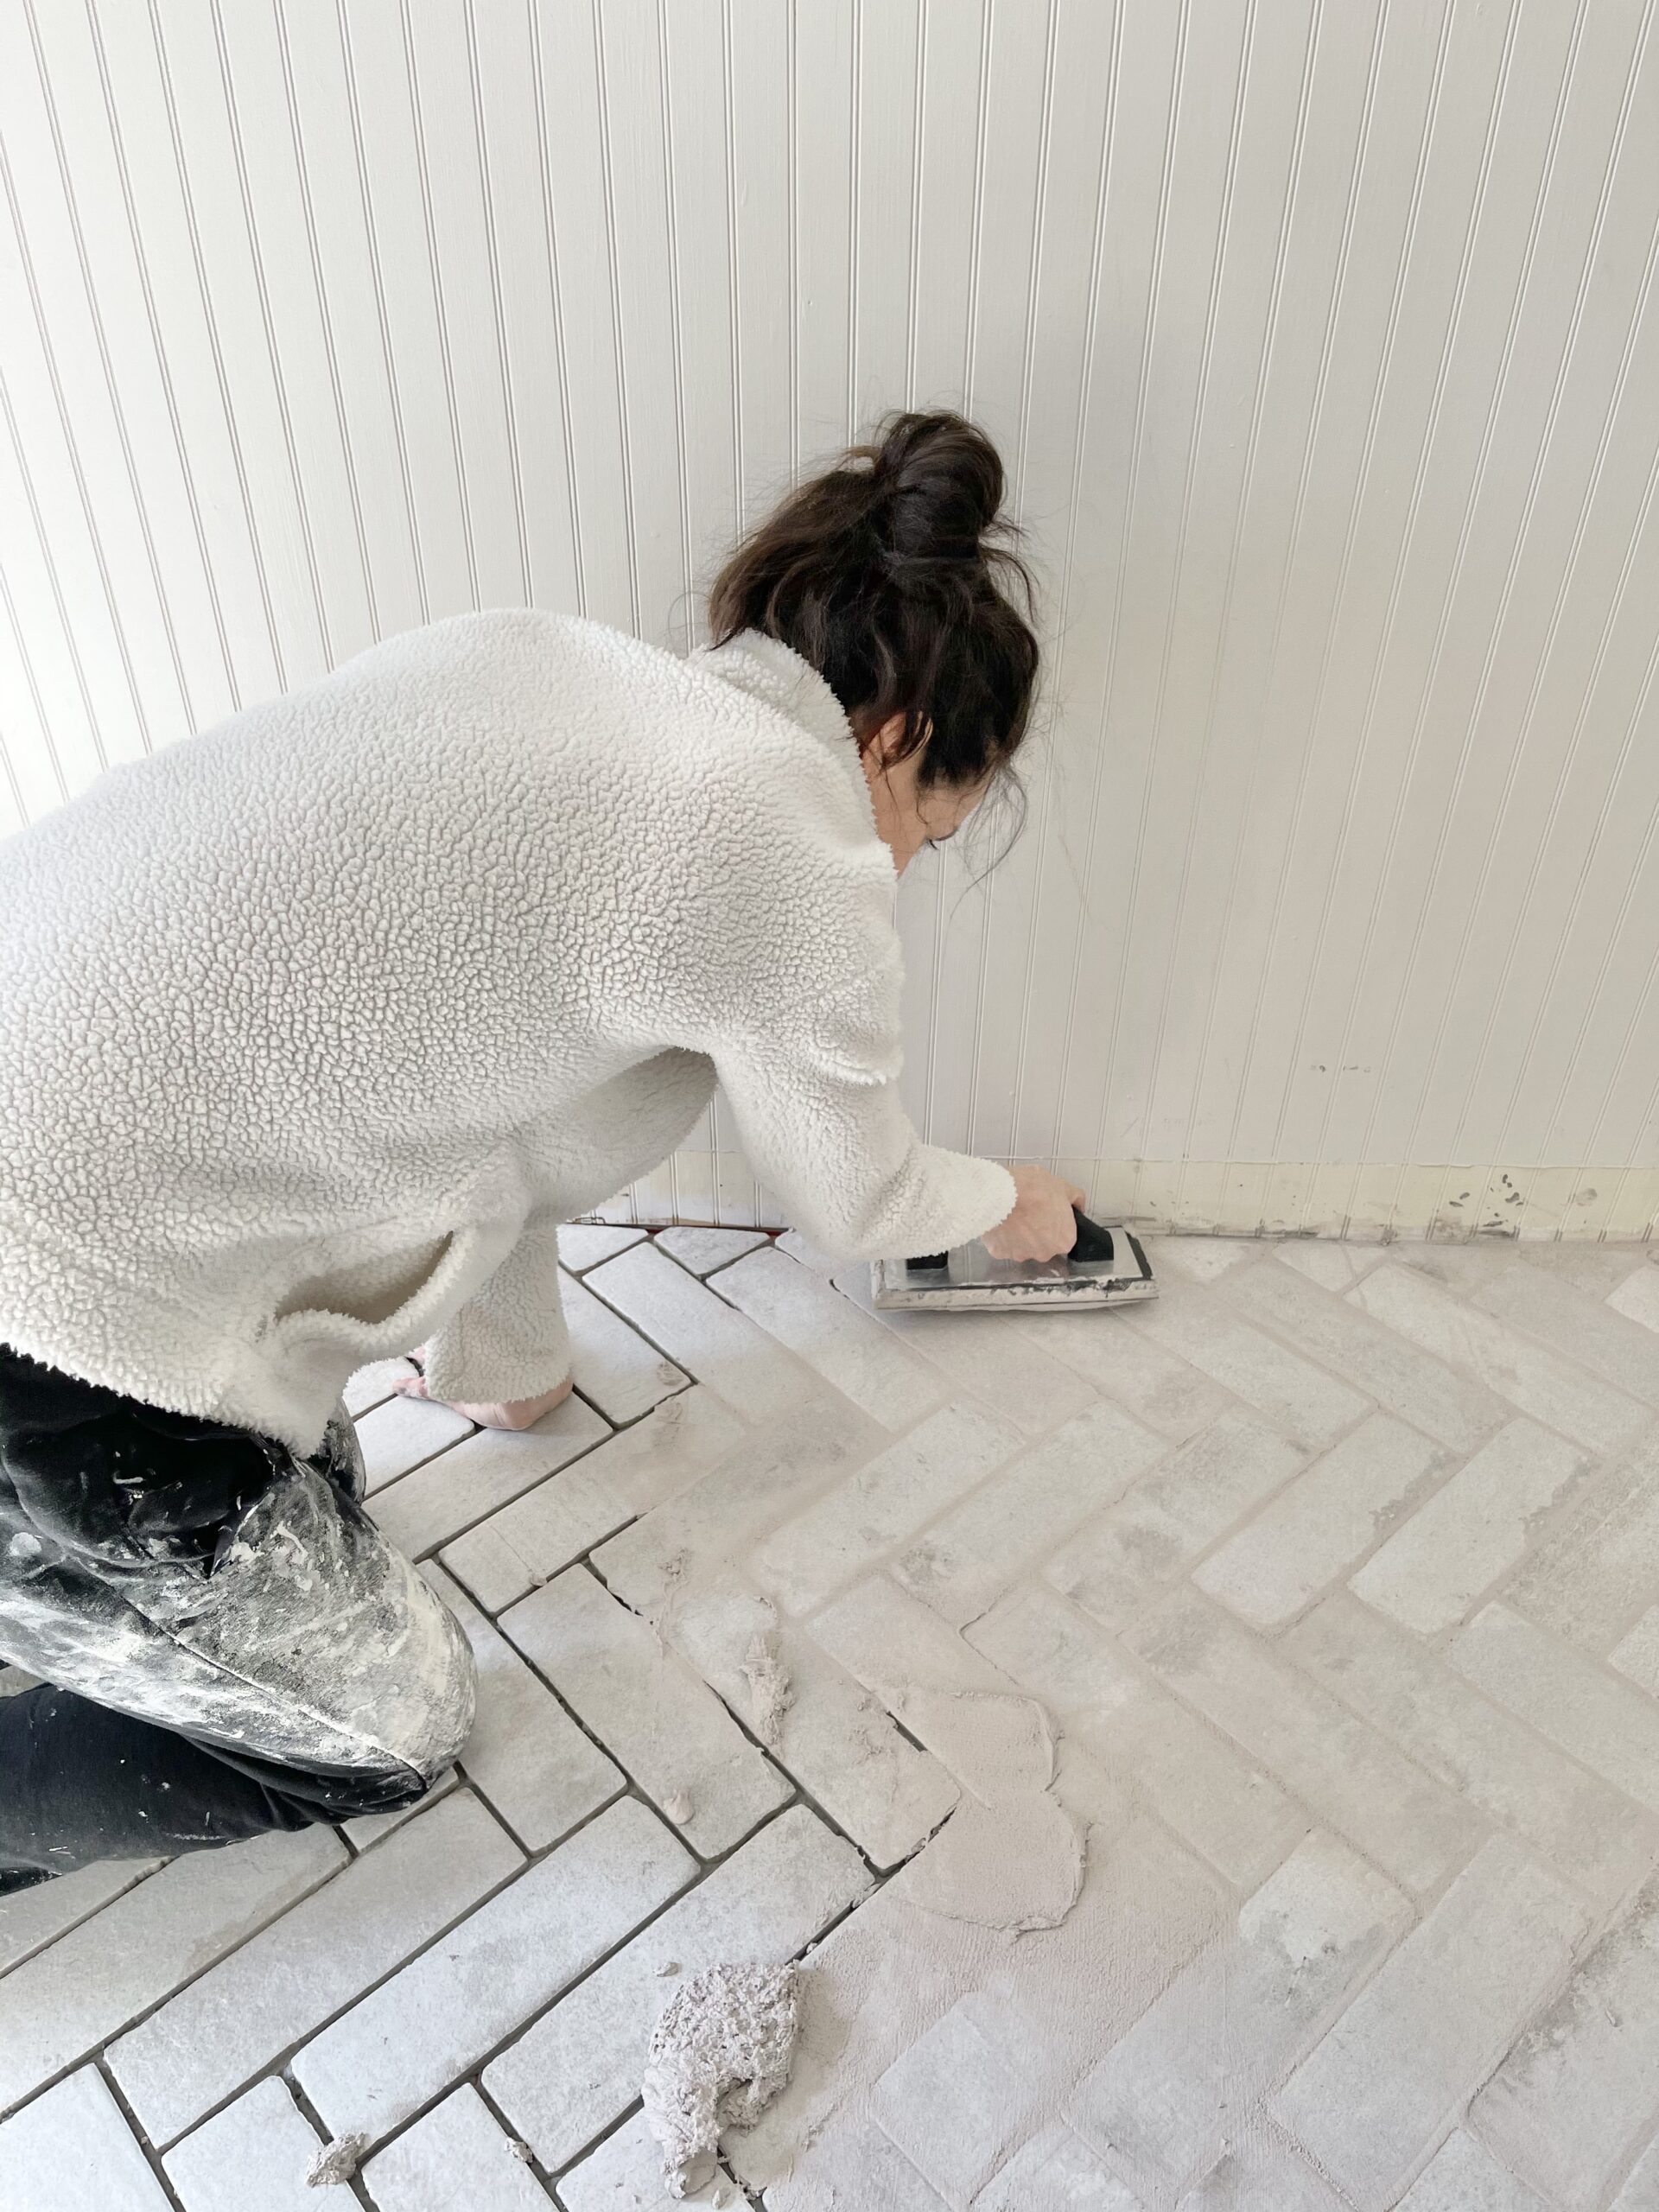
We knew we wanted to tile the space, and I had my heart set on a neutral brick look. Matt had his heart set on a herringbone pattern, which I admittedly had doubts about. This was our first time tiling and I knew how tricky and labor-intensive herringbone could be…But he insisted, and I’m glad he did!

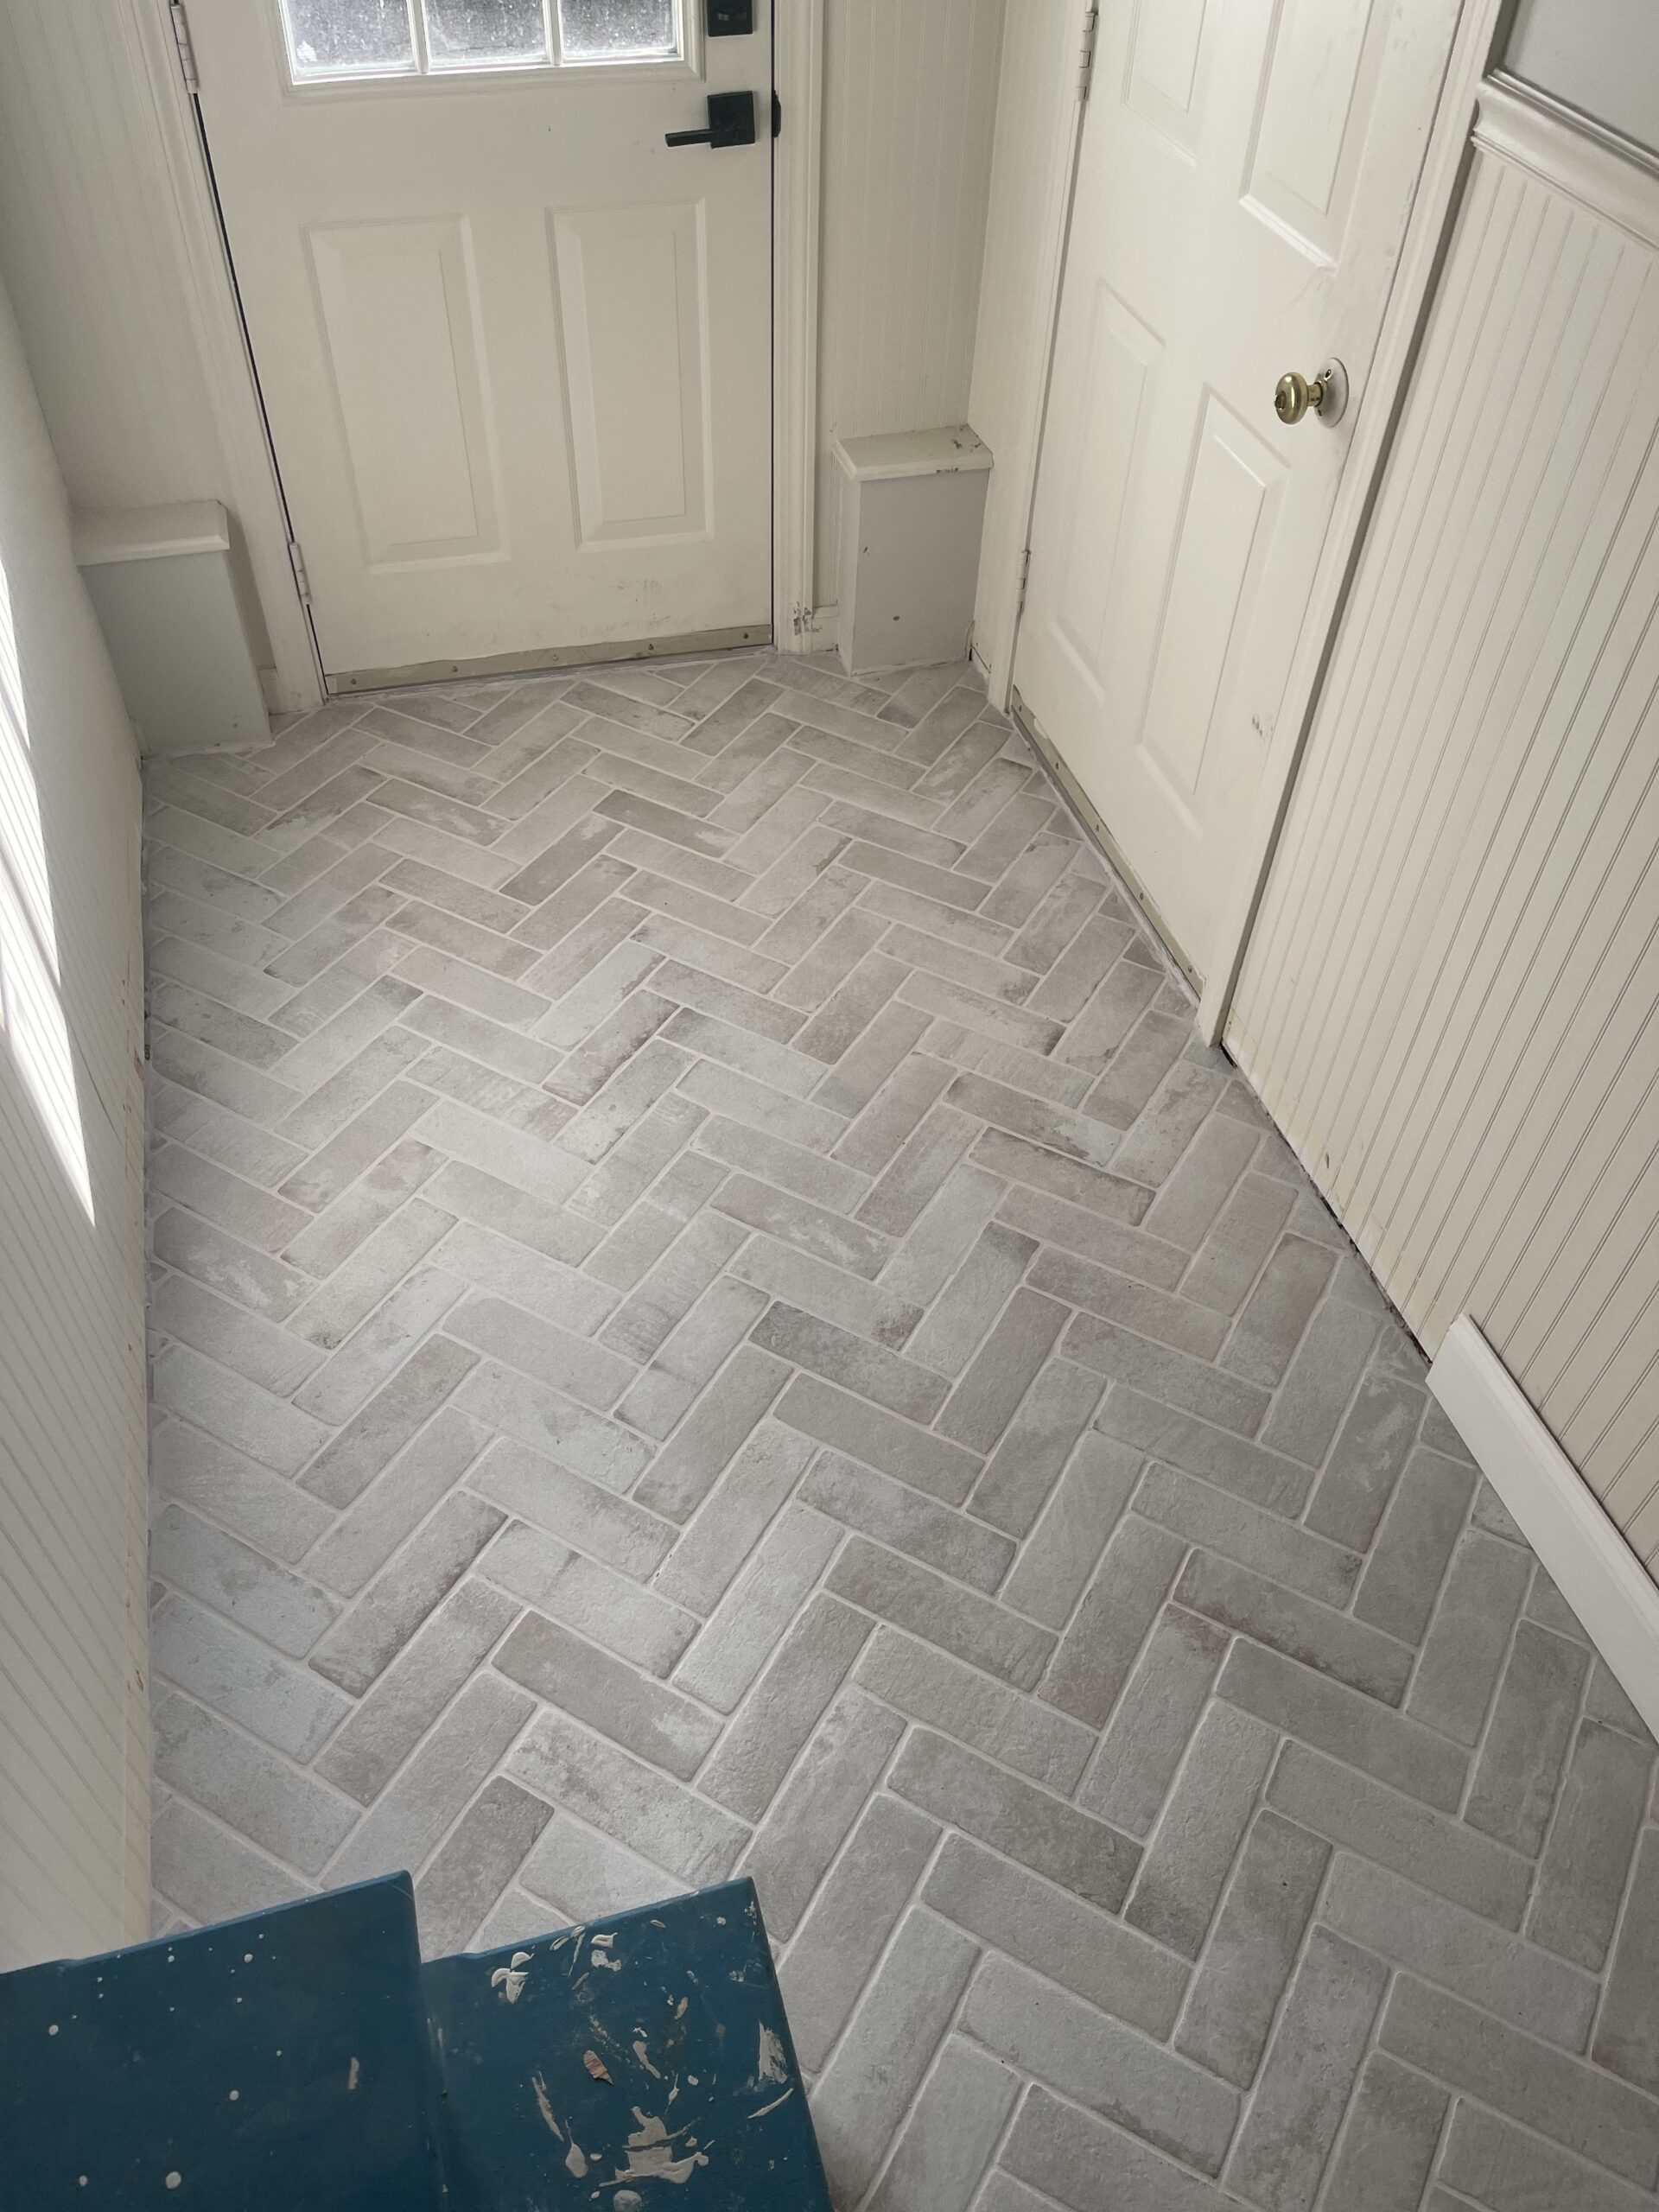

I absolutely love how it turned out. Now we just need to reinstall the baseboards and refinish the stairs before the built-in hall tree is installed. Should be ready to go for peak mud-season here in Vermont!
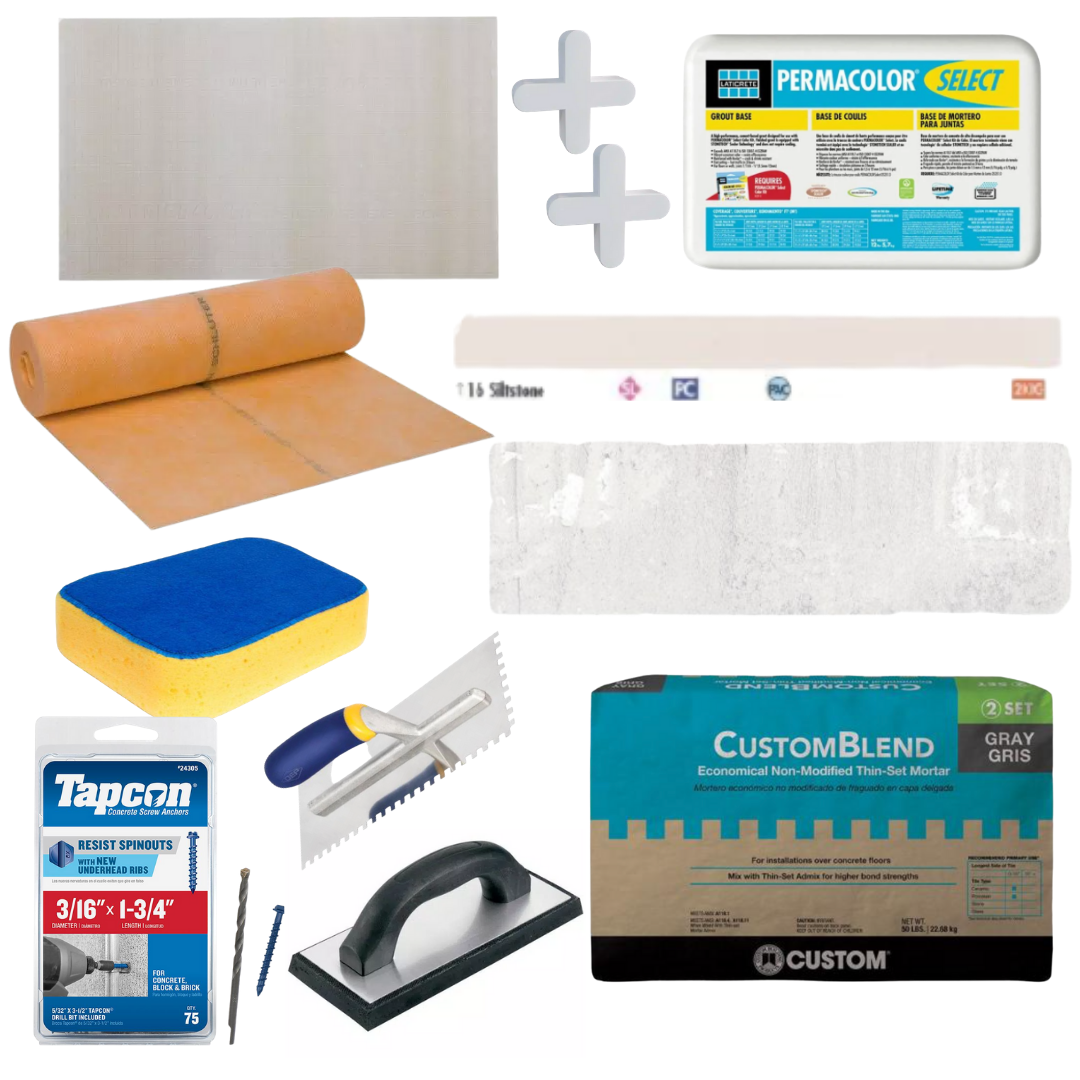
For tile, we went with the Cabrillo speciality brick in the color Porcelain. The measurement was 2.875 x 9.75. And for grout, we decided to go with the Latricrete Permacolor Select product, with grout color 16, Siltstone. This product does not need to be sealed. The trade off is that it is a bit harder to work with, but overall it wasn’t too labor intensive.
Mudroom floors – How to
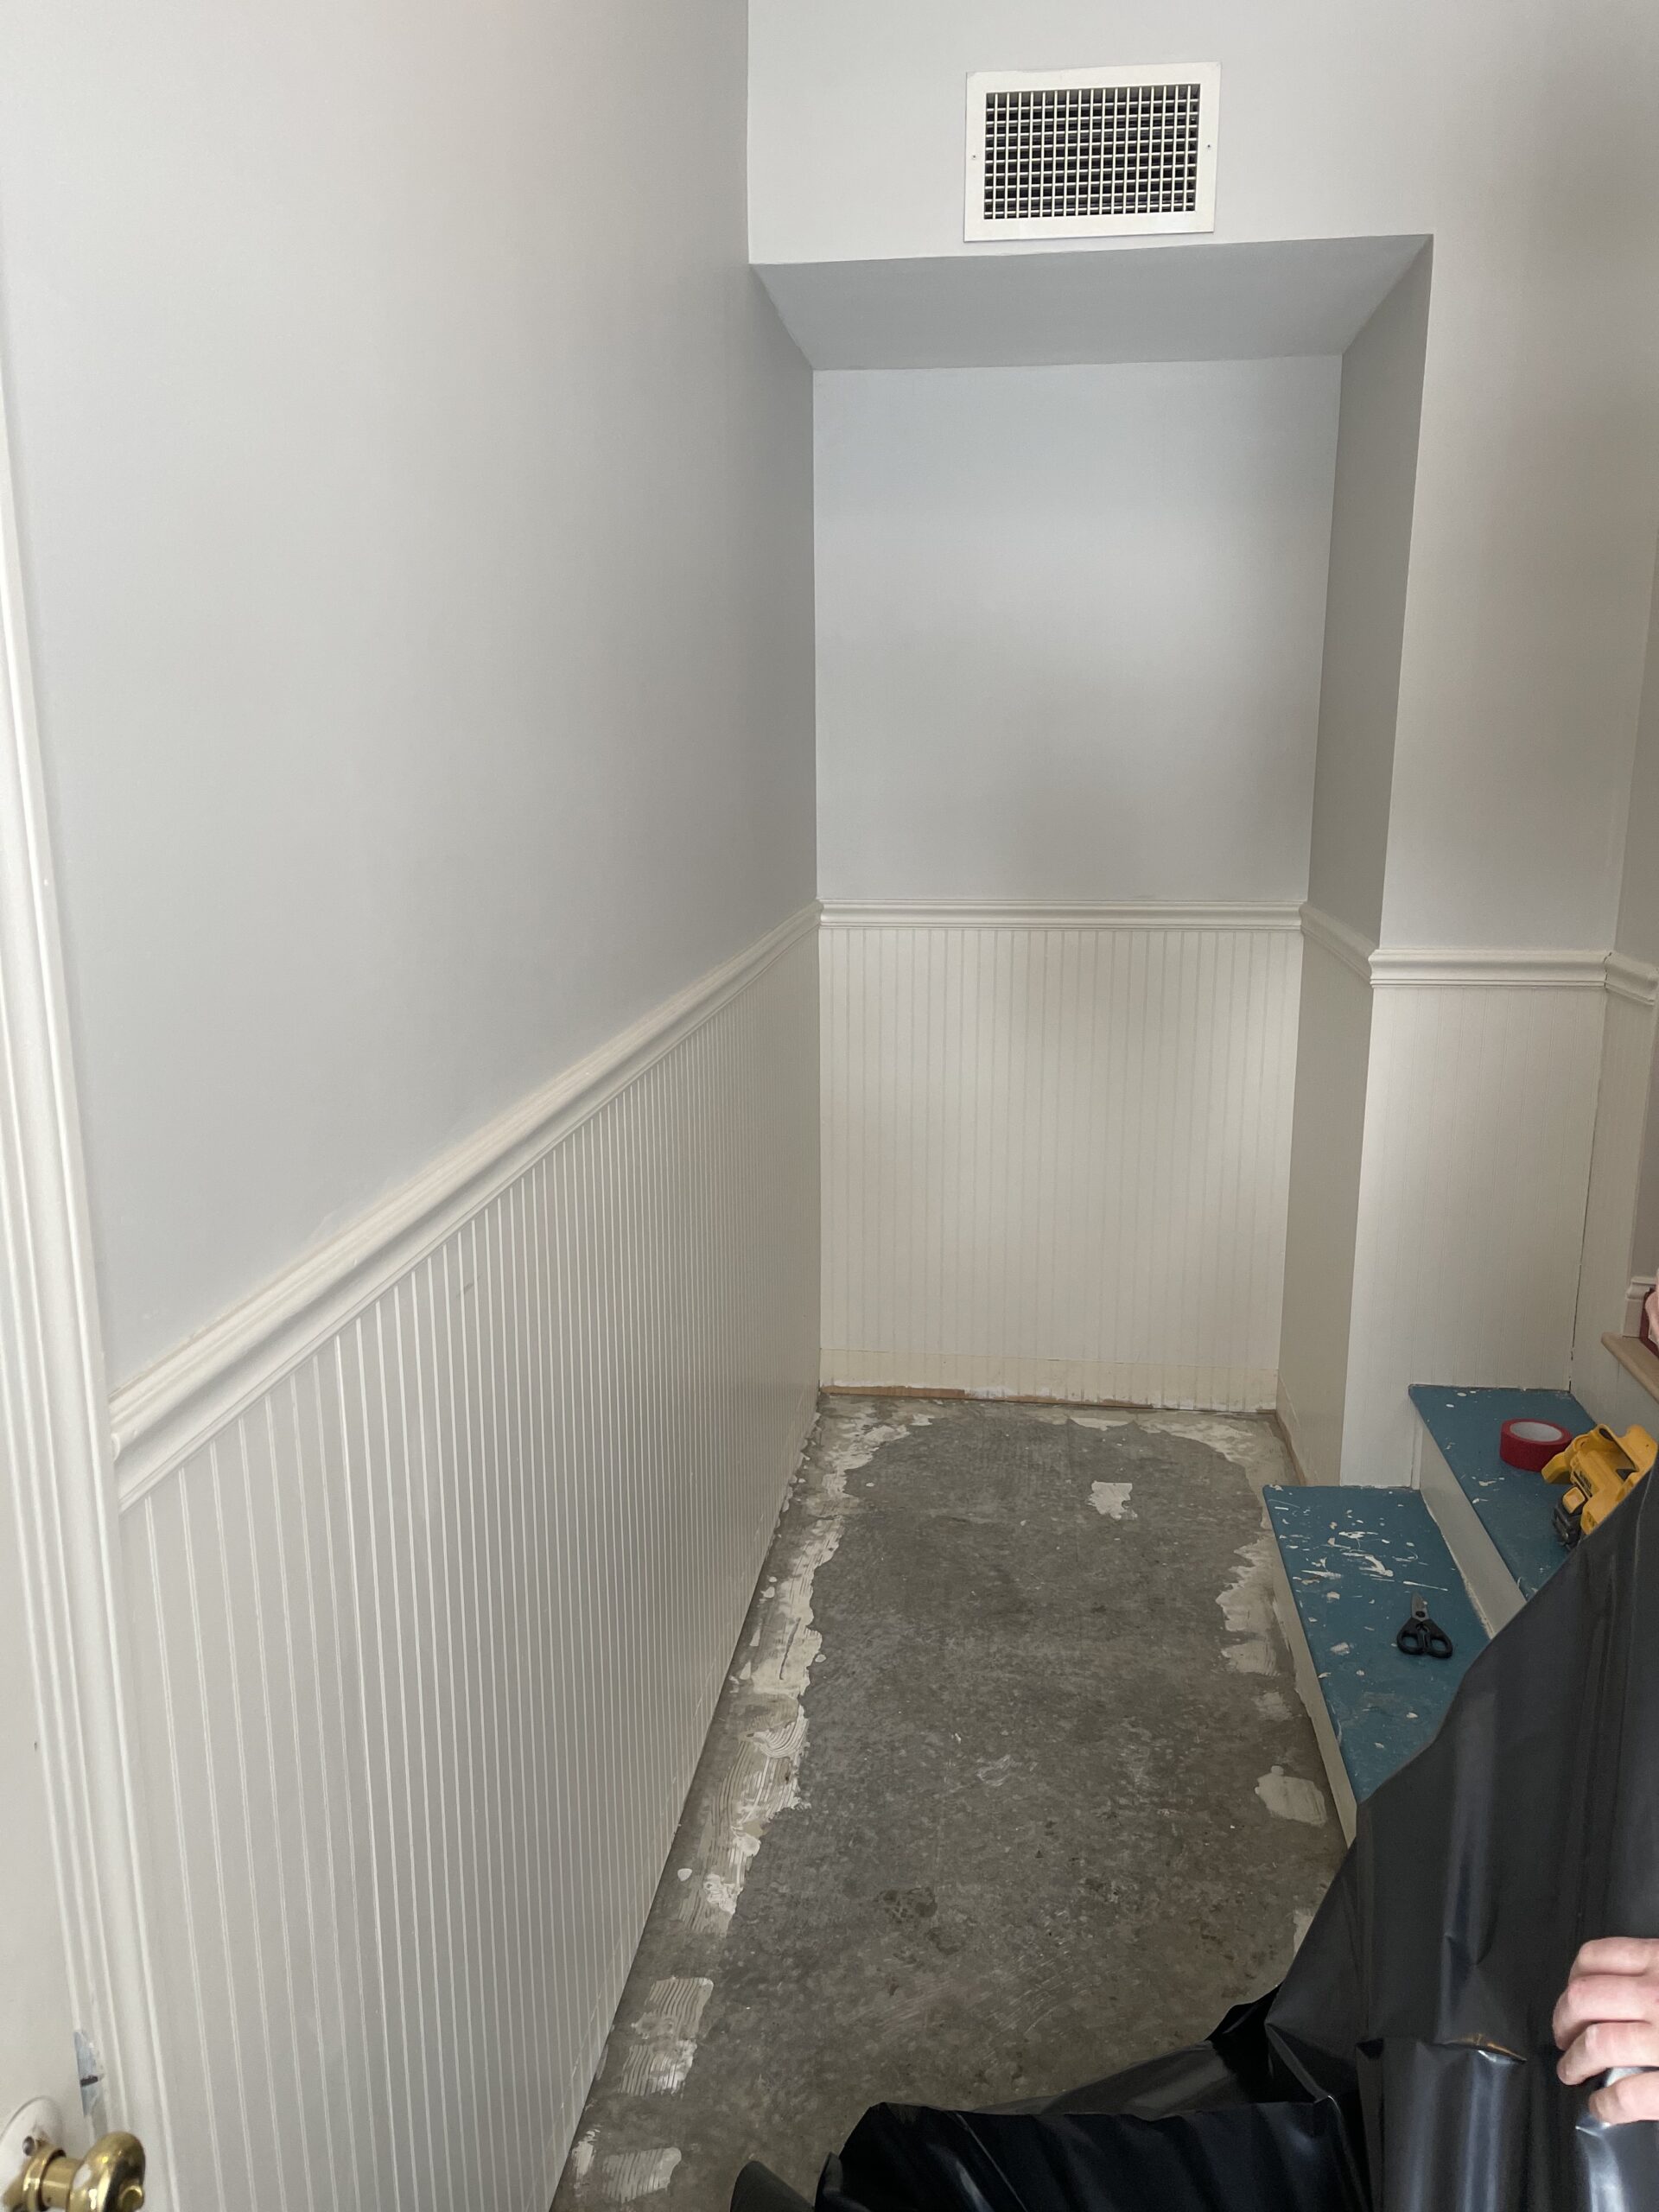
DEMO: Removed the baseboards and pulled up the old flooring, liner, and pink insulation.
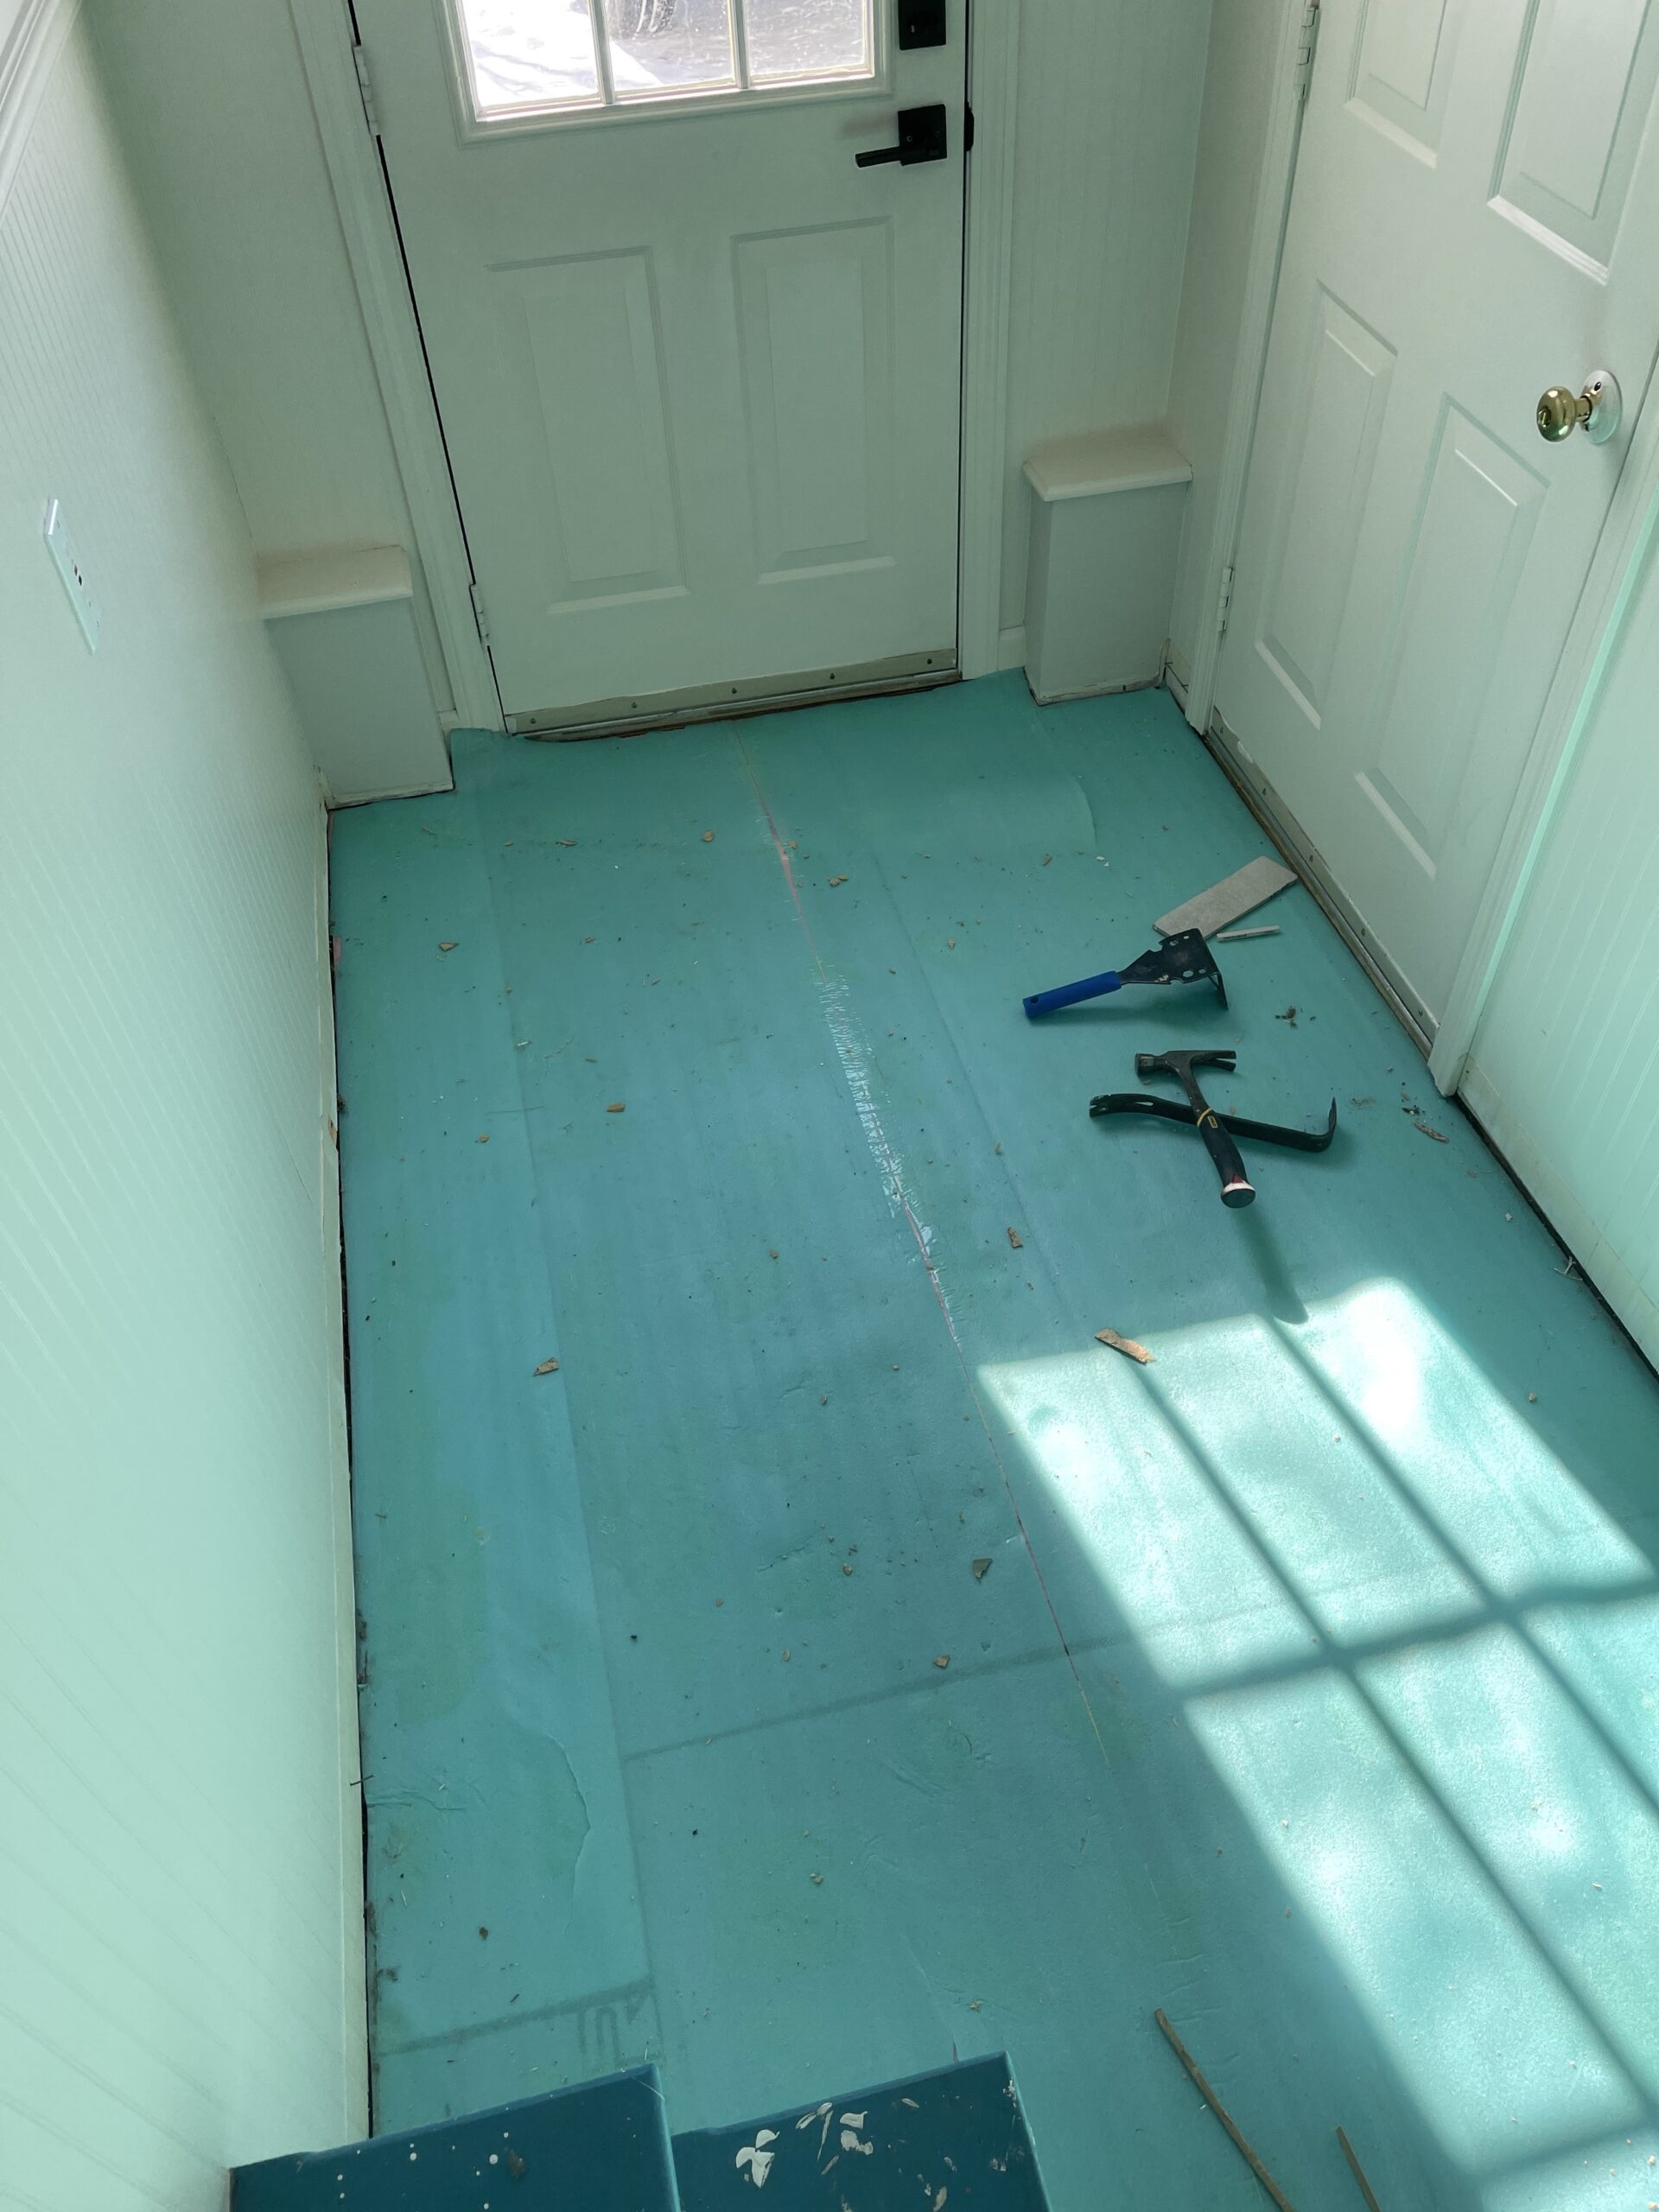
Prep: Clean cement floor, seal using Shurtape, cut and lay 1/2 inch Hardie Board – Make sure your seams are tight! Pre-drill your holes using a hammer drill 6-8 inch through Hardie Board and into concrete floor. Screw in Tapcon screws until they are flush with the Hardie Board.


Tip: When drilling and screwing into concrete, cool your drill bits in cold water as you go to prevent melting and let the drill do the work.
Cut Schluter Systems Kerdi membrane Ditra to size. Spread unmodified thin set mortar and lay Kerdi membrane over, pressing until is adheres.
Measure and Plan: Measure center of the room at the widest point and snap chalk line. Spray the chalk line with hairspray to seal it in place.
Starting at the farthest end of the room, using a speed square, mark a 45 degree angle off of the center line. Your first brick will run along this line and the corner will touch the center line. This first brick is the most important because all other bricks after align with this one.
We laid out and cut the edge tiles until it touched 3 walls. Then we moved the tiles to the side and mixed more unmodified thin set.
Tiling: Fill all the Kerdi memberane squares with thin set. Then, add more thin set, spreading and notching in the same direction. We used both a large trowel and small hand trowel for edges and mixing that had a1/4in square notch.

Lay tiles frequently, making sure they are getting full coverage. Add six spacers around each brick, making sure tiles are level.
Let the mortar cure for at least 24 hours before walking on or removing spacers. Sweep the tiles and wipe down with damp rag. Scrape away any excess mortar on edges, sweep and wipe down again.
Grout: Mix grout to directions adding desired color. Using the trowel, lay a few blobs of grout at starting end and spread with grout float, working perpendicular to grout line. For us, this was parallel to the walls.
Continue to work grout back and forth, finally removing as much as possible. Wait 30 minutes until grout starts to haze over bricks.
Using two buckets of warm water, wet a large sponge that has both sponge and microfiber. Ring out and start to wipe tiles in same direction as before cleaning sponge regularly in one bucket and then the other.
After first pass, wait 3 hours for grout to set. Wipe tiles again using same method. Final pass is using microfiber side to polish just the tile.
Wait 24 hours to walk on.
Here is a round up of the products we used: (You can also find them all linked on my page in the LIKETOKNOW.it app.
Links:
Leave a Reply